
3 Tips to Avoid Drywalling Nightmares
Author: Kathleen Kuhn
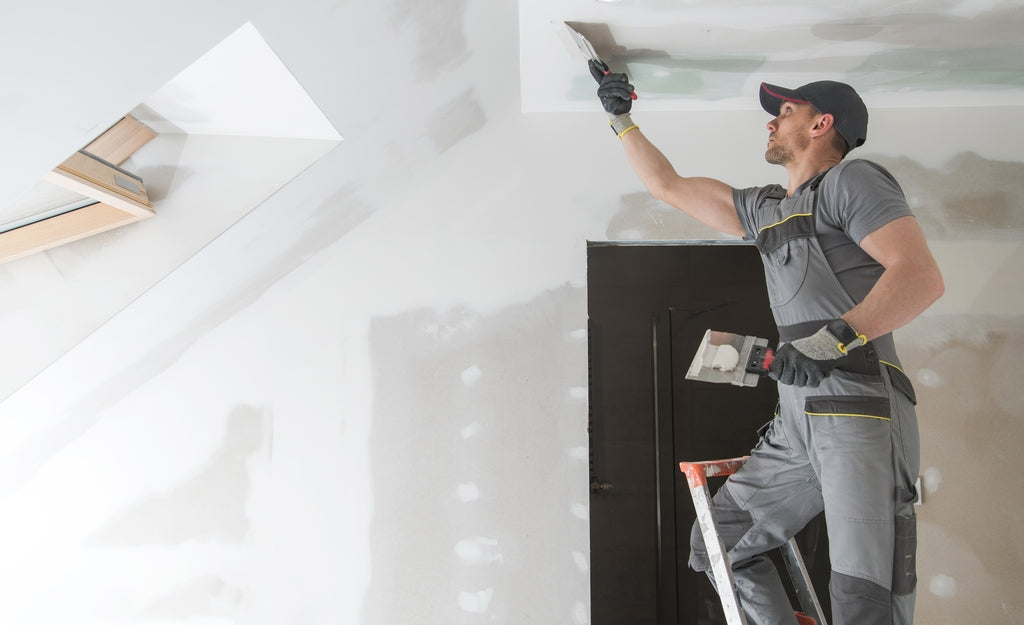
Follow these tips for a smooth, seamless drywall repair.
Many homeowners and property managers getting a new building ready have faced the dreaded drywall dilemma: Rearranged furniture, plumbing or electrical work, or just plain carelessness has left a dent or hole in the wall, and now they have to fix it without leaving an unsightly, obvious patch.
While DIYers may be content to grab their spackling and sanding tools, it's often easier to call in the pros, especially if there are multiple points of deep drywall damage. However, even home repair professionals sometimes struggle with common drywalling issues like uneven textures and paint flashing.
To help you smoothly and seamlessly fix damaged drywall or plaster in a new building project, here are some important tips we follow ourselves as drywall repair specialists.

- Use the right compound for the job.
If your business doesn't do drywall and plaster repairs every day, you might be overwhelmed by the variety of compounds available for this type of work. To achieve a smooth, matching texture to the wall you're repairing, you'll need to purchase the right materials for the job. Generally, all-purpose joint compound is the right choice for drywall, while plaster of Paris is best for plaster walls. No matter what you use to patch, be sure to properly sand and prime the area before painting to avoid your compound seeping through.

- Seal any exposed drywall paper before patching.
Exposed drywall paper is fairly common in damaged wall areas, but if you try to patch right over it, the paper will react with the water in the drywall compound and bubble up. These areas need to be sealed with an oil or shellac-based liquid or spray, then sanded down after drying. Once this step is complete, you can patch as normal, without fear of bubbles in the drywall.

- Feather the paint to minimize flashing.
We've all seen repaired walls where the freshly painted patch sticks out like a sore thumb. This is known as "flashing," and in some cases – such as rooms with dirty or dusty walls or faded paint from inconsistent sunlight – it's unavoidable. However, with the right painting techniques, you'll be able to minimize instances of flashing and make your new paint blend right in.
When you feather out the paint using a brush or roller, you create a smooth transition between your patched area and the existing paint. The idea is to apply the paint thinner and lighter the further out you get from the repair spot. Sweep your brush strokes or rolls out from the center of the patch, extending slightly past the repaired area and slowly lifting away from the wall as you go.
Remember, the hallmark of a good drywall repair is being virtually invisible when it's done. Follow these tips for your next home or commercial drywall job to make damaged spots disappear.
About the author:
Kathleen Kuhn is President and CEO of PatchMaster, a home services franchise brand offering customers a fast and professional solution for drywall repairs. The company provides high-quality drywall services for small holes, dings and dents, typically finishing jobs in one visit. She also serves as President and CEO of sister company, HouseMaster, a 40-year-old home inspection franchise with more than 320 locations across North America.
-
Renovate Magazine
